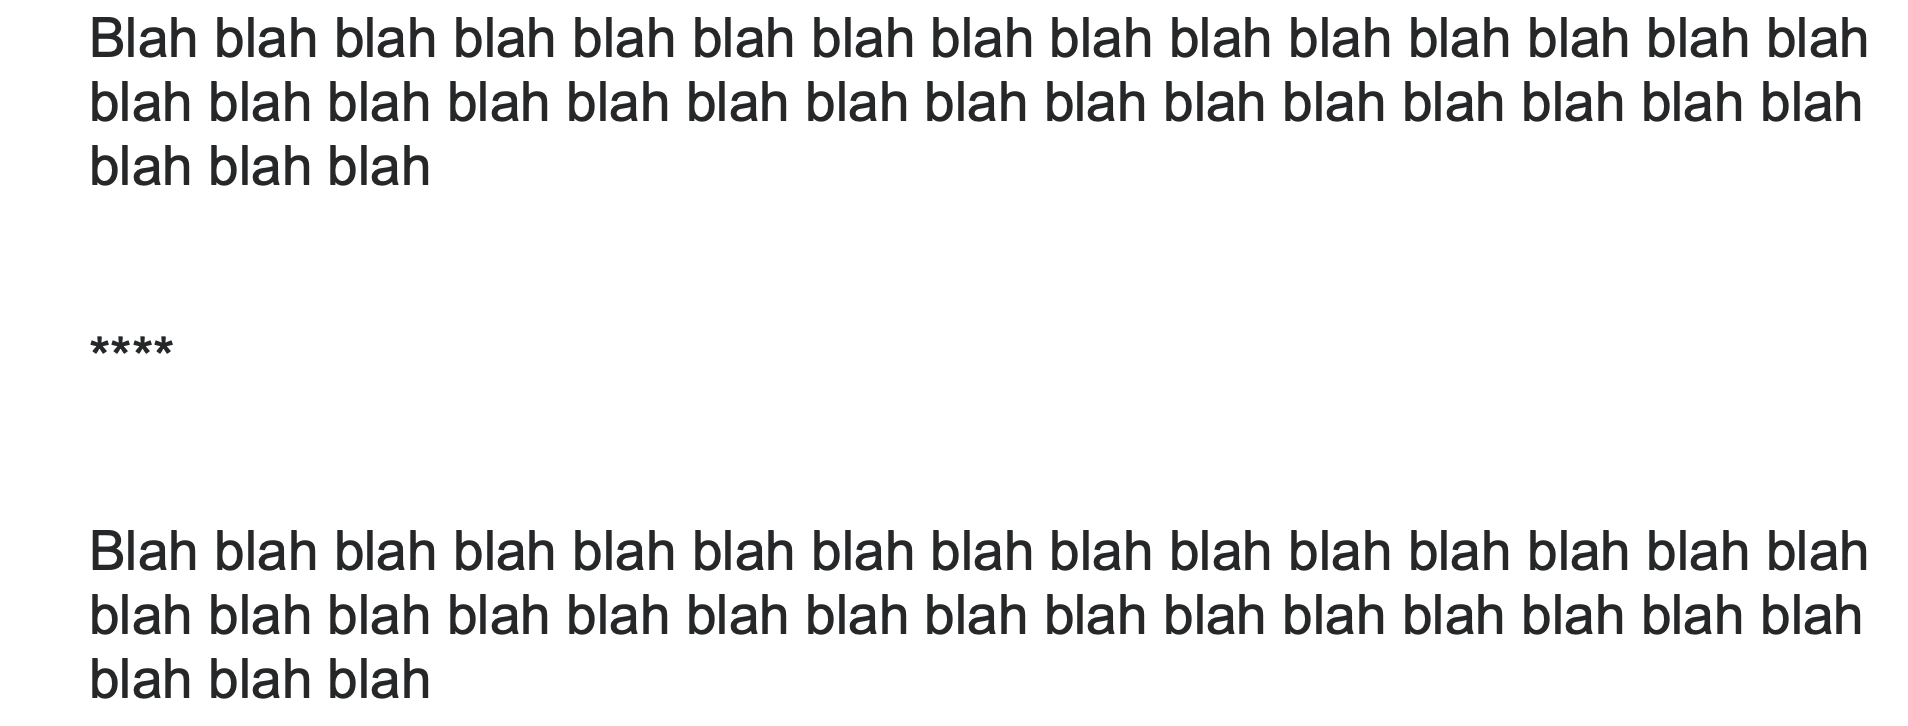
I am new to Scrivener -- just started on the weekend. After much trial and error, I was able to achieve the desired effect. I did so by duplicating the standard "Ebook" format, then modifying the duplicate copy. As far as I can ascertain, the key modifications were as follows:
[Note: my book structure is Chapter > Scene. I want the scene breaks (* * * or whatever) to appear with one blank line above and below, though this could be adjusted to 2 lines above/below, as per the original question. In my case, the Scenes are assigned a layout called Section Text. You will need to substitute the name of the layout you are using, if it isn't Section Text.]
- Define the Section Text separator. In the Compile Format Designer left pane, select Separators, then in the middle pane, under Section Layouts, select Section Text. In the right pane: uncheck "Use default separators". set "Separator Before Sections" to "Single Return". Set "Separator between sections" to "Custom", then enter the separator you want. Uncheck "Override separator after". Check "Ignore black lines using styles."
- In the left pane, select "Section layouts". In the right pane, scroll through the list of Section Layouts and select the one you're using for Scenes (in my case, Section Text). Click the Prefix tab and enter a single carriage return.
- Click Save. This will return to Compile Overview dialog.
- In the right pane, make sure each of the sections has is set to Section Type = Scene.
- In the middle pane, click "Assign Section Layouts..." to open the "Assign Section to Layout" dialog. In the left pane (Section Types), select "Scene", and then in the right pane (Choose Layout for Scene Documents), scroll through the options and select "Scene Text".
You should now be good to compile. As I said, I'm new to Scrivener and found this through hours of trial and error, so I hope it works for others! If not, I'm not sure I can explain it any better.
But there is also one big caveat: how this actually behaves in the e-book depends very much on which device (Kindle, Kobo) or e-book reader you use. They are not consistent. I tried three: the reader built into Calibre, an app called FBReader, and a Kobo.
Calibre displays exactly what I want.
The Kobo ignores the space above the separator.
FBReader ignores the spaces above and below the separator. It also misinterprets other markup (the list is too extensive to go into here).
I have found a way to make this work correctly in both Calibre and the Kobo (though not FBReader). Unfortunately, it takes a little knowledge of editing the CSS and e-book code using the Calibre e-book editor.
- If you have added the e-book to Calibre already, find it there and open it in the editor. If not, find it in your File Explorer, right-click Open With... and choose "The Calibre e-book editor".
- With the book open in the editor, in the File Explorer (top panel, left pane) select a file that you know contains a chapter which has section breaks.
- In the File Preview (right pane), scroll until you see a section separator and double-click it. This will take you to relevant code in the middle pane.
- Observe the surrounding code (everything between the text before and after the separator). In mine, it looks like this:
<p class="br"><br /></p>
<p class="ps2">* * *</p>
<p class="br"><br /></p>
<p class="br"><br /></p>
This codes one blank line, then the separator, then two more blank lines. Note the name of the class for the separators: in my case, ps2.
Next steps:
- In the left pane, under Styles, double-click 'stylesheet.css' to open it in the middle pane. A tip: the coding produced by Scrivener is quite messy. Before going any further, I recommend selecting 'Beautify current file" in the little toolbar at the top of the middle pane (hover over the toolbars until you find the right one). This will make the next step so much easier to follow.
- Scroll through the code until you find the separator class you noted above. In my case, it is "ps2" and it looks like this (after beautifying it as described above):
.ps2 {
  margin-left: 0rem;
  text-align: center;
  text-indent: 0rem;
}
- Press Enter at the end of the last entry (
text-indent: 0rem; in my case) to start a new line, and then enter:
line-height: 4rem;
The number you type will determine the total space occupied by the separators, measured in 'root ems' (multiples of the base point size in your document). You may need to play around with this value to get it the way you want.
- Finally, remove the extraneous blank lines from the code, as they are no longer necessary. I did this using the Find and Replace fields at the bottom of the coding window. (refer to code provided earlier) I replaced:
<p class="br"><br /></p>
<p class="ps2">* * *</p>
with
<p class="ps2">* * *</p>
It's best to copy and paste these strings directly from the code window.
Then I replaced
<p class="br"><br /></p>
<p class="br"><br /></p>
with nothing.
Save the file (if it has gotten messed up, you can always re-compile from Scrivener and start again). It should now behave as expected in both Calibre and he Kobo. I can't vouch for other readers (except to note that FB Reader has a mind of its own).
One final note: I can't find a way to make Scrivener simply produce the code as I want it, directly from the compile function. It may be possible, I don't know. In the meantime, if your book is not yet finished (you are basically testing it and will need to update it), you can test this out to make sure it works, then wait until your book is finished before going through it again.
I hope all that made sense and helps you out. Cheers!

